|
Now I'm back into 3D printing one of my curiosities is in printing with different materials. The stock Makerbot Replicator 2 as designed for printing PLA only. Many of the upgrades I added to the printer where to be be able to print different materials. Why? Different materials have different strengths and weaknesses and are therefore better or worse for particular applications. I like t have the option to pick the best material for a particular part depending on what it will be used for. For example my action camera mount for on your dashboard when printed in PLA suffers from warping when your dashboard heats up in the sun. That is because the glass transition temperature for PLA is between 60-65 °C. A common plastic used for 3d Printing is ABS. ABS has a glass transition temperature ~105 °C. Glass transition temperature is not the only property to look for. Depending on what you are printing you might care about some of the following:
Printing ABSFirst attempt settings that required changing later:
First attempt settings that required changing later:
I'm excited to try new materials in the future. For more information on my Simplify3d configuration for a Makerbot Replicator 2 with Heated Build Platform (HBP) see Simplify3d Configuration.
0 Comments
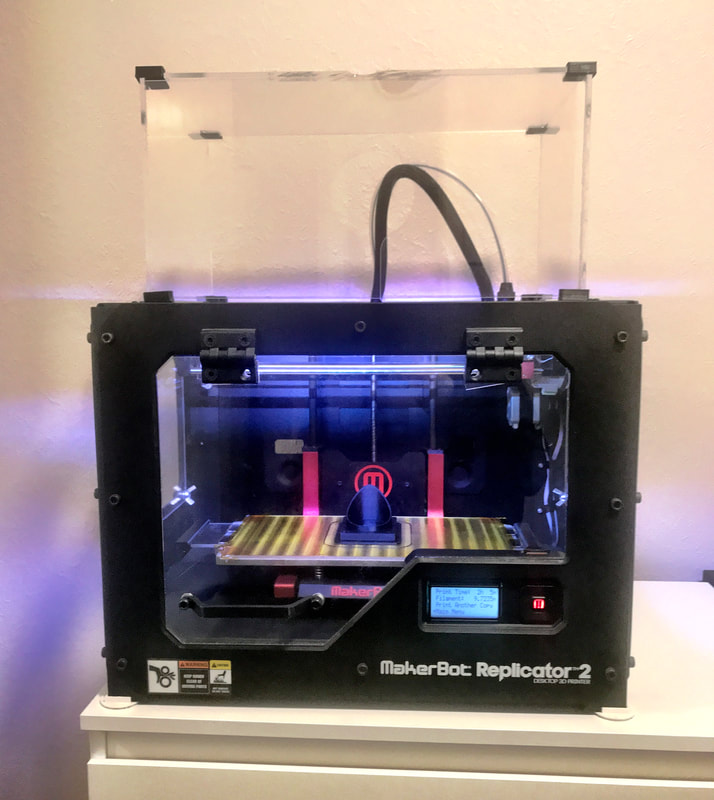
The 3D printer has been collecting dust for over a year and the last few months it has been living in its storage box. One of the reasons I have not used it much is because it hasn't been printing well. It hasn't been printing well because I did not properly assemble the extruder assembly when I upgraded several parts. Now I had time and motivation to go and resolve this. Time for a game plan. I was fairly confident all the issues where in the extruder assembly. So the plan was to carefully take it apart. Clean all the parts. And assemble it in very specific order so it the extruder is assembled correctly. With the extruder on the Makerbot replicator and possibly other 3D printers on the market you have to be very careful with the disassembly of the extruder head. Some parts you can only loosen when the extruder is warm/hot. For example the nozzle might break off if you try and undo it while cold. This will be a challenge to then repair. So knowing this in advance and trying to mitigate these possible problems is great. I won't bore you with the details on how to take the extruder apart. The Makerbot replicator extruder has a complex order in the way it has to be disassembled. During disassembly I discovered little things that I could improve during assembly to improve reliability. And possibly increase the longevity of the extruder. Because I had the extruder apart I took the opportunity to replace the ceramic insulation on the heater block before assembly. Assembling the extruder the right way! In a way it's very easy. You just need to know the trick. Start with the nozzle and the heater block and then add all extruder parts where the filament goes through mate with each other.
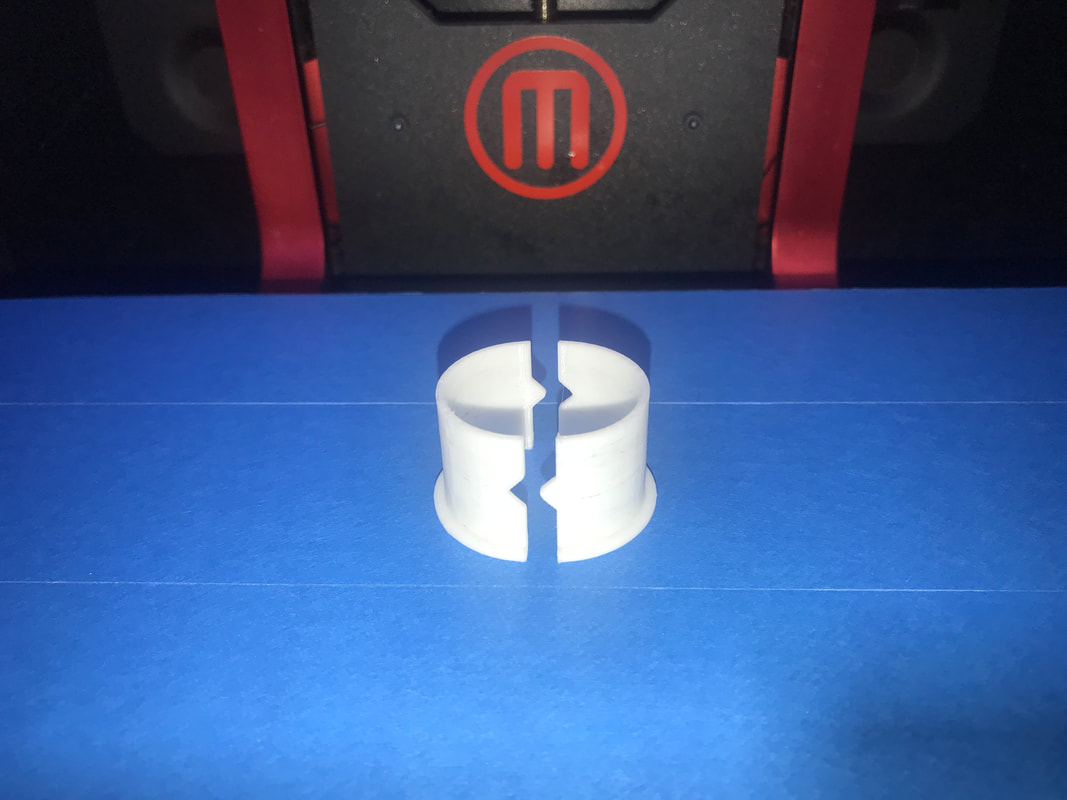
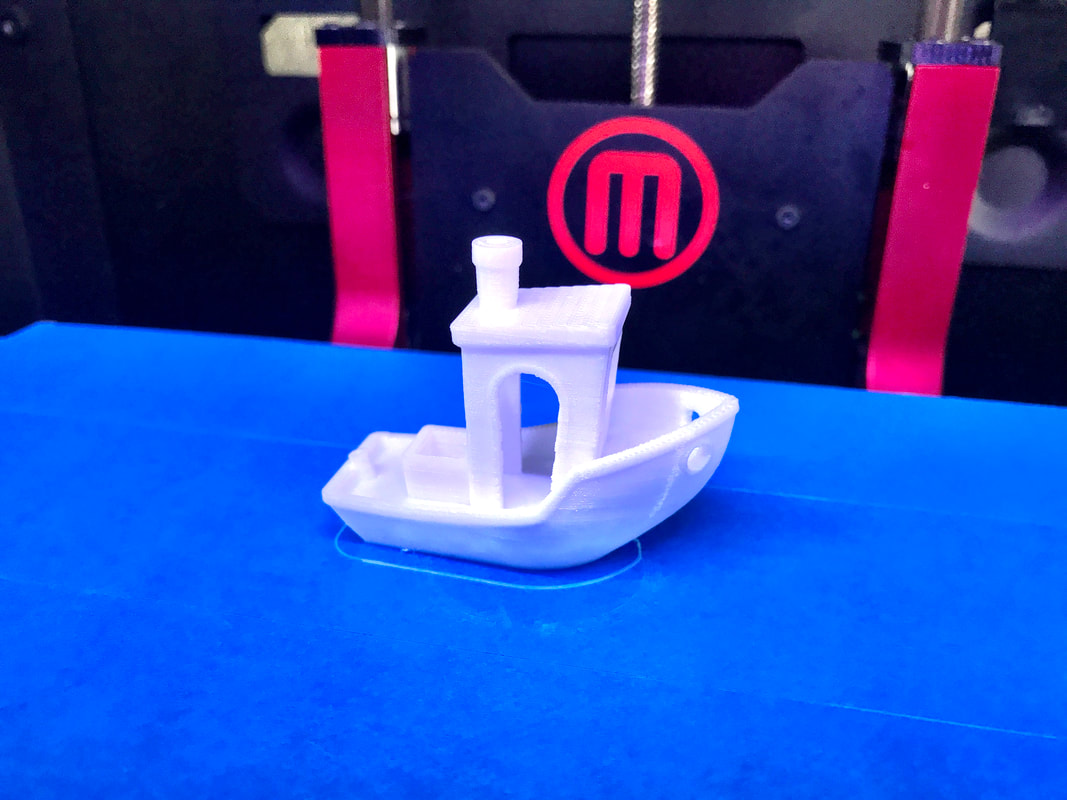
I quickly whipped up something I wanted to print and used it to test the printer. It printer beautifully on the first print. And off course you must then print a Benchy boat to see how it performs. Which I am very impressed with too. The parts below were printed in white PLA. The slice the first part I quickly used Makerbot print. The slicer made by Makerbot for Makerbots. Benchy boat was sliced using the latest version of Simplify3d. Expect more updates around 3D printing in the near future. And I will be adding a lot more content to my dedicated 3D printing page. I have being using my Manfrotto Pixi tripod a lot but one feature was missing. The old gorilla tripod had a spirit level integrated in the tripod. So far I have been using the spirit level app on my phone but it is not as accurate as I would like it to be. So I designed a spirit level attachment (you can download the files to make your own here). It holds a 8mmx22.5mm spirit level which is readily available on eBay and works perfectly. 3D printing is awesome! On special request from my dear mother I designed a quick fill funnel. My mother makes her own kombucha tea and she does this in 5 litre glass jars. These are fairly heavy so when the time comes to bottle it she would like to transfer it into bottles as fast as possible. Most ends on funnels are fairly small and don't provide a way to let the air out when using it. So I designed the following funnel so that it just fits the bottle and that it has an unrestricted way for the air to escape when you pour the kombucha in. The files if you want to print our own can be found on thingiverse. 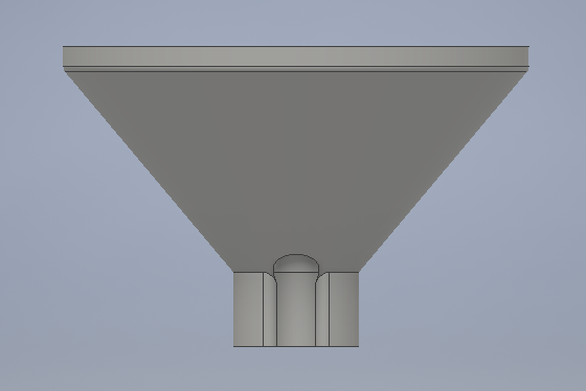 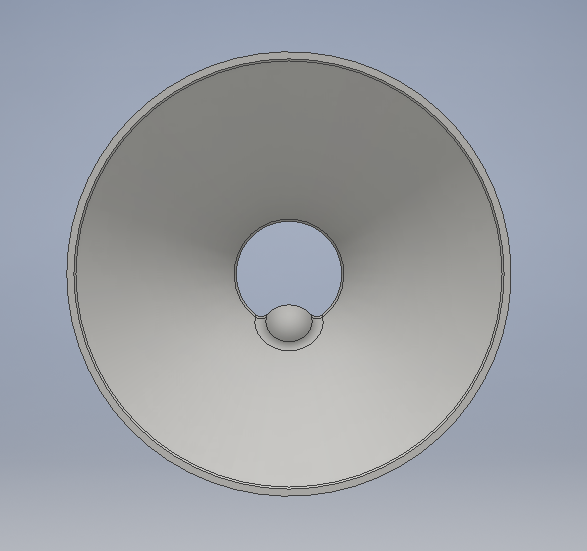 First a little background information about the project. I am replacing the 2"x4" speakers located in the headrest of a 91 Mazda Eunos Roadster, also known als Miata or later models go by MX-5. The original speakers are bad, very bad. And they tend to don't live long. I already replaced them once and after reading around the forums everybody recommends buying some normal 3.5" speakers and cut some of the foam out to make it fit. I figured, why not 3D print a speaker housing and use the existing mounting holes that are already in the headrest. As you can see below, I have drawn up a CAD model and 3D printed it. All looking good so far. But when testing it in the car I discovered that hidden under the foam the is one big metal plate with just the 2"x4" hole for the original speakers cut out. Because the cutout isn't big enough i don't have enough depth to nicely fit the new speakers. I will have to sleep on it before I decide my next course of action. |
AuthorGeorge Timmermans, Research Toolmaker, Software Engineer and Tinkerer 
Archives
March 2024
Categories |
 RSS Feed