|
A while ago I ordered some LED flickering candles. This particular set comes with build in rechargeable batteries and a charging tray. It comes with a European style 7.5v power supply which is no good to me without a travel adapter. Instead I wanted something simple. No adapters, or buying a new power supply. Opening the charging tray revealed a simple circuit containing a 5V regulator. That's convenient. This makes it well suited for charging via an USB cable. While checking the circuit I discovered the current limiting resistor for the LED to be very large. 1K ohm, while 210 ohm would have been enough in it's original configuration. I think it was done to reduce the brightness of the LED. With my conversion to 5V I swapped out the resistor for a 100 ohm resistor, which results in 20mAh going through the LED. It's now nice and bright. Because the batteries don't have any markings on them and there is no overcharge protection anywhere It is not recommended to leave them on charge for a very long time. At least I have now a convenient charging solution.
0 Comments
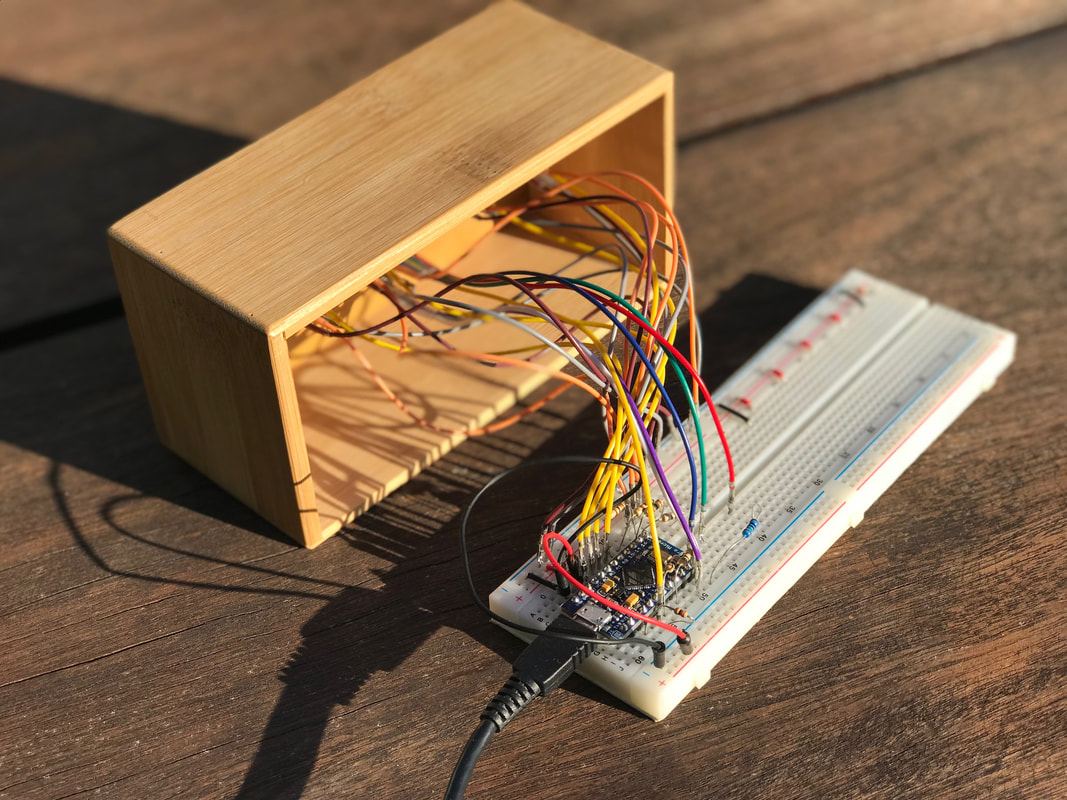
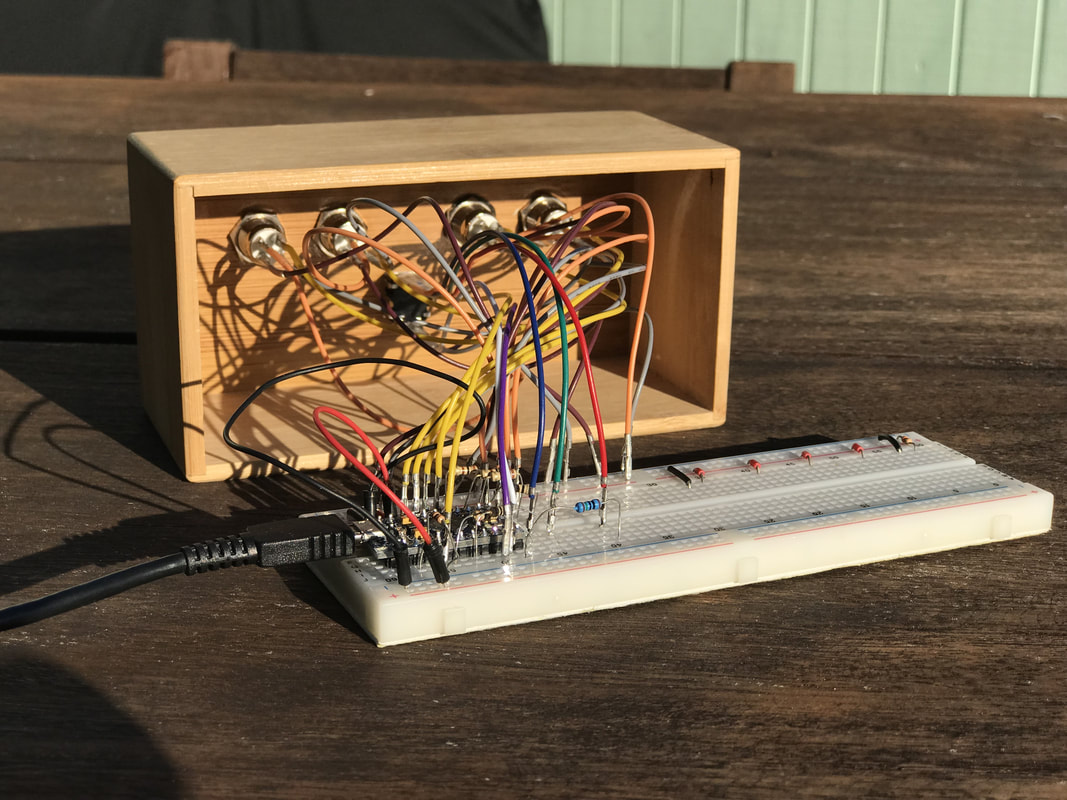
Parts have been trickling in and I found something that will make a decent permanent enclosure. I had the misfortune to receive a partially defective rotary encoder which has been replaced. In the photos below all the connections are made with the appropriate current limiting resistors so I could writing the code for all the buttons and LED animations. A video of it working is still to come. I attempted to digitally design a circuit board and have it manufactured. At the time of typing this the manufacturers website is unavailable so I can not check the status of my order. Hopefully more about that next time. Back to the controller. So far it consist out of:
Up next is permanently wiring things up and 3d printing a bracket to hold the microprocessor in place. And some tidying up of the code so it will be in a good enough state to publish. |
AuthorGeorge Timmermans, Research Toolmaker, Software Engineer and Tinkerer 
Archives
March 2024
Categories |


 RSS Feed