George timmermans
  • About Me
    • Resume
    • Press releases
  • Blog
  • Projects
    • Long Range WiFi Link
    • Embedded Systems >
      • Photo Booth
      • Classroom VU meter
      • USB Media Controller
      • Weather Station
      • Arduino Swimming Pool Controller
      • GRBL Android Controller
      • Arduino Serial Driver
      • Arduino Multitasking
      • 8x8x8 LED Cube
      • Analog -> Digital Geiger Counter
    • 3D Printing >
      • Simplify3d Configuration
      • 3D print repairs
    • Home Brewing >
      • Mead Recipes >
        • Cinnamon Mead
        • Sweet Chili Mead
        • Lemon & Ginger Mead
        • Mead Liqueur
        • Honey Beer
      • Glühwein (Spiced Wine)
      • Limoncello
    • House
    • Toolmaking
    • Laser Cutting
  • Weather Cam
  • Contact

Improve Playstation/Xbox connection on Asus home routers

5/8/2019

0 Comments

 
Don't be shocked by the Asus in the title. Although I manage a Ubiquiti Unifi/Protect/Aircontrol and UNMS network, at home in  a tiny apartment things are on a budget. I don't need a unifi setup for a 60 m² apartment where and a internet connection off 100/20Mbps. But that doesn't mean we can try and optimise our network settings. In this case for a basic Asus RT-AC58U home Wifi Router. 

Since you are reading this I'm assuming you you know how to login to your router. Now your ISP connection speeds and understand some slight I.T. jargon. 

Configuring QoS and prioritise Playstation/Xbox

I cannot guarantee that based on your model router or firmware that these instructions will stay complete or be accurate. But these instructions should point you in the right direction: 
  • Login to your router
  • I like to check if my firmware is up to date (I have auto update enabled. otherwise manually update. Think about the security implications of running outdated firmware!)
  • Go to the "Traffic Manager page"
  • Enable QoS if it isn't yet enabled (Traditional QoS will do if it has that option)
  • Enter the upload and download bandwidth as suggested
  • Apply settings
On the same Page "Traffic Manager tab" on the "QoS" tab at the top right should be a drop down box. 
  • Select form the dropdown  "User-defined QoS rules"
  • Here we are going to add our new Playstation rule
  • Under the "Service Name" dropdown for a new rule find under the "Online Game" section "Playstation network" or "Xbox Live"
  • Under "Source IP or MAC" we will have to add the MAC address of your
    • PS4/PS5 - Log into your PS4 and Select the "System" icon under the Settings menu. You will see your MAC address listed on this screen, containing letters and numbers in the format xx.xx.xx.xx.xx.xx
    • Xbox - Go to My Xbox in the Xbox Dashboard and select "Settings".
      In the Settings pane, select "Network".
      Select "Advanced Settings" from the Network Settings tab.
      At the bottom of this screen you'll see a headings for "Wired MAC" and "Wireless MAC" *.
  • In the "Transferred" section enter: 0~512 KB
  • Under the "Priority" dropdown select: Highest
  • ​Click the + button on the right to add the new rule
  • Apply settings
Enjoy your improved Playstation Network and/or Xbox Live experience. 

* For Xbox connected via Wireless there is an checkbox on the "Wireless" page  for both 2.4Ghz and 5Ghz to optimise for Xbox. No idea what is does but you can try and enabled that too.

Optional router tweak

As a engineer I firmly believe in the power off turning something off and on again. If you haven't watched the TV show the "The IT crowd" I recommend you do so. Asus routers have the option to to a scheduled automatic reboot. This is something I enable as a preventive measure in case there is a bug in the firmware like a memory leak or something else. If it in theory can improve reliability why not enable it? 

You can find it under: 
  • The Administration Page in the "Miscellaneous" section
  • Select "Date to Reboot": E.g. Sunday
  • Select "Time of day to reboot": E.g. 3:00
If anything does happen I will have Sunday to look into it. Not that it has ever cause me any issues.
0 Comments

Mastering 3D printing ABS

2/8/2019

0 Comments

 
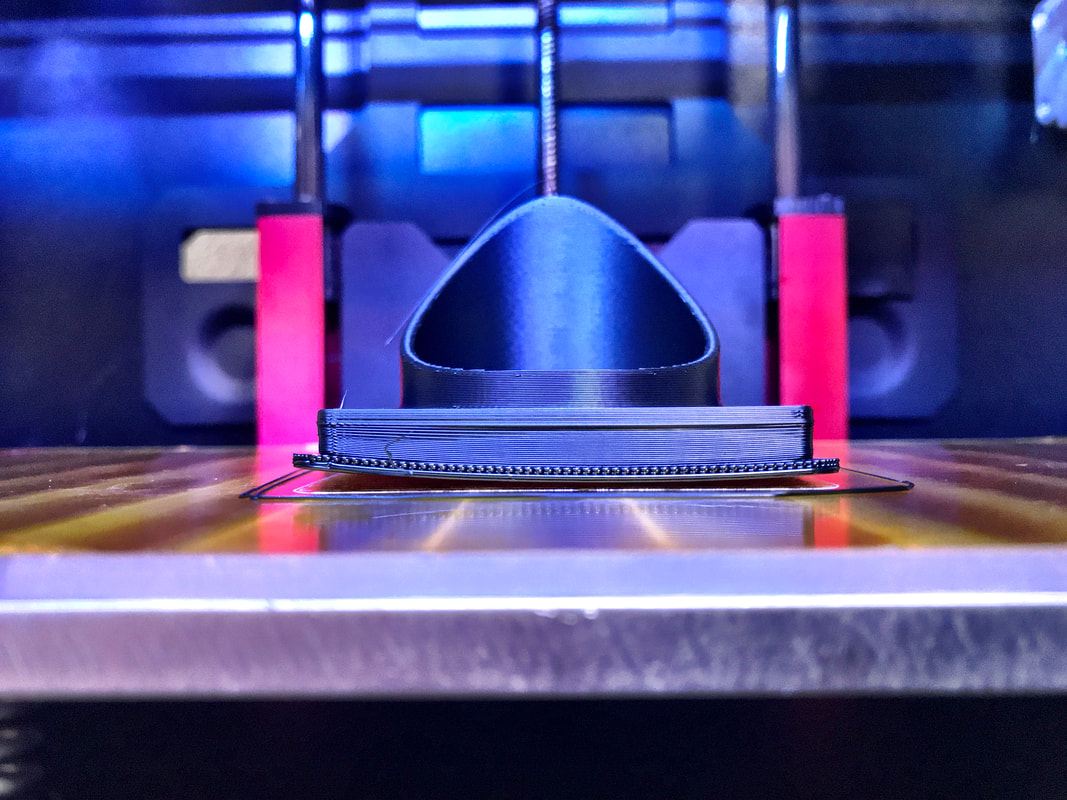
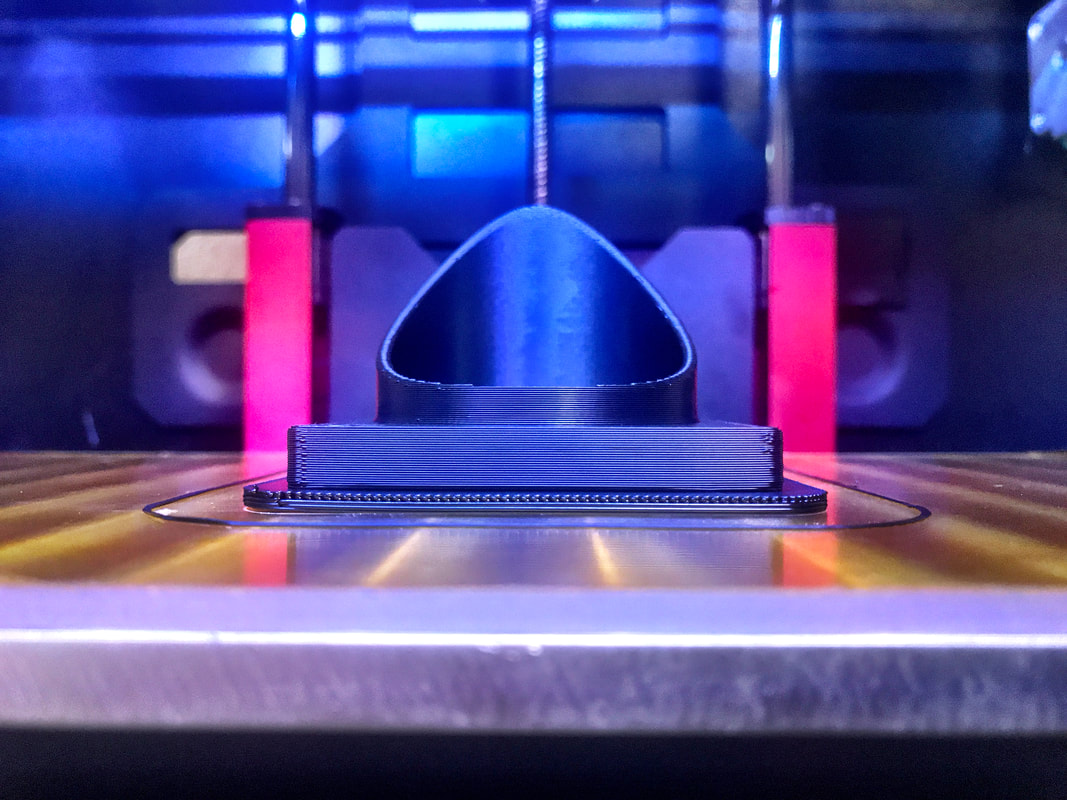
Now I'm back into 3D printing one of my curiosities is in printing with different materials. The stock Makerbot Replicator 2 as designed for printing PLA only. Many of the upgrades I added to the printer where to be be able to print different materials. Why? Different materials have different strengths and weaknesses and are therefore better or worse for particular applications. I like t have the option to pick the best material for a particular part depending on what it will be used for. 

For example my action camera mount for on your dashboard when printed in PLA suffers from warping when your dashboard heats up in the sun. That is because the glass transition temperature for PLA is between 60-65 °C.

​A common plastic used for 3d Printing is ABS. ABS has a glass transition temperature ~105 °C. Glass transition temperature is not the only property to look for. Depending on what you are printing you might care about some of the following:
  • Glass transition temperature (heat resistance)
  • Strength (Layer bonding/impact and wear resistance)
  • UV resistance
  • Weight per volume
  • Resistance to certain chemicals
There are plenty of websites listing the pros and cons for each material. I highly recommend exploring and reading what's available on the market today.

Printing ABS

First attempt settings that required changing later:
  • Heated build platform: 85°C
  • Extruder: 235°C all layers
  • Raft offset from part: 3mm
  • First Layer speed: 50%
I want to master printing ABS. As a reference I used simplify3d tips for printing ABS as a start. In the first photo below you see my first attempt. Here are some of the important things for the first print that I optimised for the second print. And for your reference. The settings in this post might work on my 3d printer but that doesn't necessarily mean they will work for you. Try, learn, adjust and try again.

First attempt settings that required changing later:
  • Heated build platform: 95°C
  • Extruder: 
    • Layer 1-3: 245 °C
    • Remaining layers: 235°C
  • Raft offset from part: 7.5mm
  • First Layer speed: 35%
As you can see in the second photo the raft stuck a lot better to the print bed. The corners came loose a very small amount. But because the offset from the part was increased the part itself wasn't affected by this. 

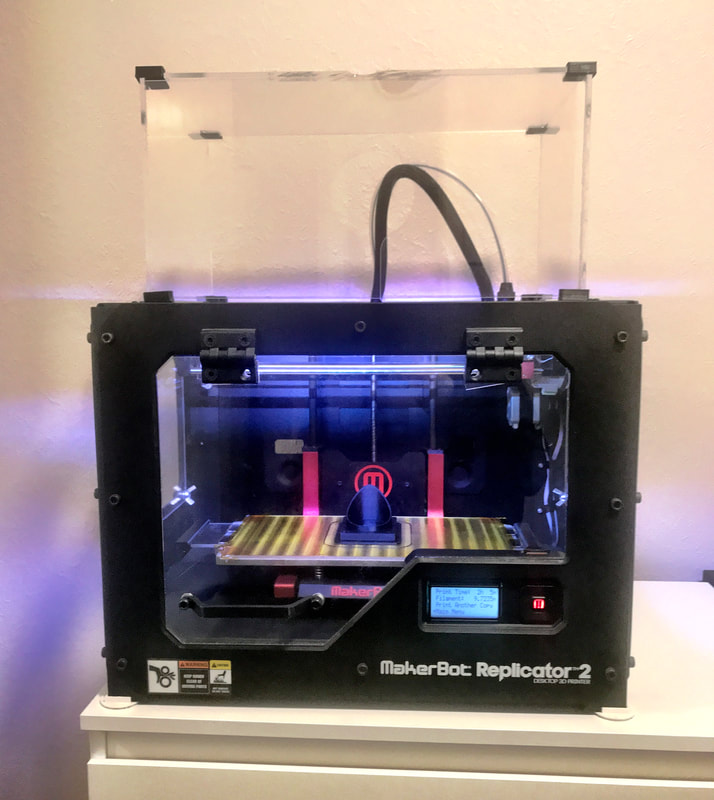
I'm excited to try new materials in the future.

For more information on my Simplify3d configuration for a Makerbot Replicator 2 with Heated Build Platform (HBP) see Simplify3d Configuration.
0 Comments

Returning to 3D printing

1/8/2019

0 Comments

 
The 3D printer has been collecting dust for over a year and the last few months it has been living in its storage box. One of the reasons I have not used it much is because it hasn't been printing well. It hasn't been printing well because I did not properly assemble the extruder assembly when I upgraded several parts. 

Now I had time and motivation to go and resolve this. Time for a game plan. I was fairly confident all the issues where in the extruder assembly. So the plan was to carefully take it apart. Clean all the parts. And assemble it in very specific order so it the extruder is assembled correctly.

With the extruder on the Makerbot replicator and possibly other 3D printers on the market you have to be very careful with the disassembly of the extruder head. Some parts you can only loosen when the extruder is warm/hot. For example the nozzle might break off if you try and undo it while cold. This will be a challenge to then repair. So knowing this in advance and trying to mitigate these possible problems is great. 

I won't bore you with the details on how to take the extruder apart. The Makerbot replicator extruder has a complex order in the way it has to be disassembled. During disassembly I discovered little things that I could improve during assembly to improve reliability. And possibly increase the longevity of the extruder.

Because I had the extruder apart I took the opportunity to replace the ceramic insulation on the heater block before assembly.

​Assembling the extruder the right way! In a way it's very easy. You just need to know the trick. Start with the nozzle and the heater block and then add all extruder parts where the filament goes through mate with each other. 
  1. Nozzle
  2. Extruder block
  3. Thermal barrier tube
  4. Thermal barrier tube nut - 1
  5. Carriage
  6. Thermal barrier tube nut - 2
After everything was assembled before attempting the first 3D Print there where a couple of check to do. Load filament through it for a while to verify it extrudes alright. And level the build platform. 

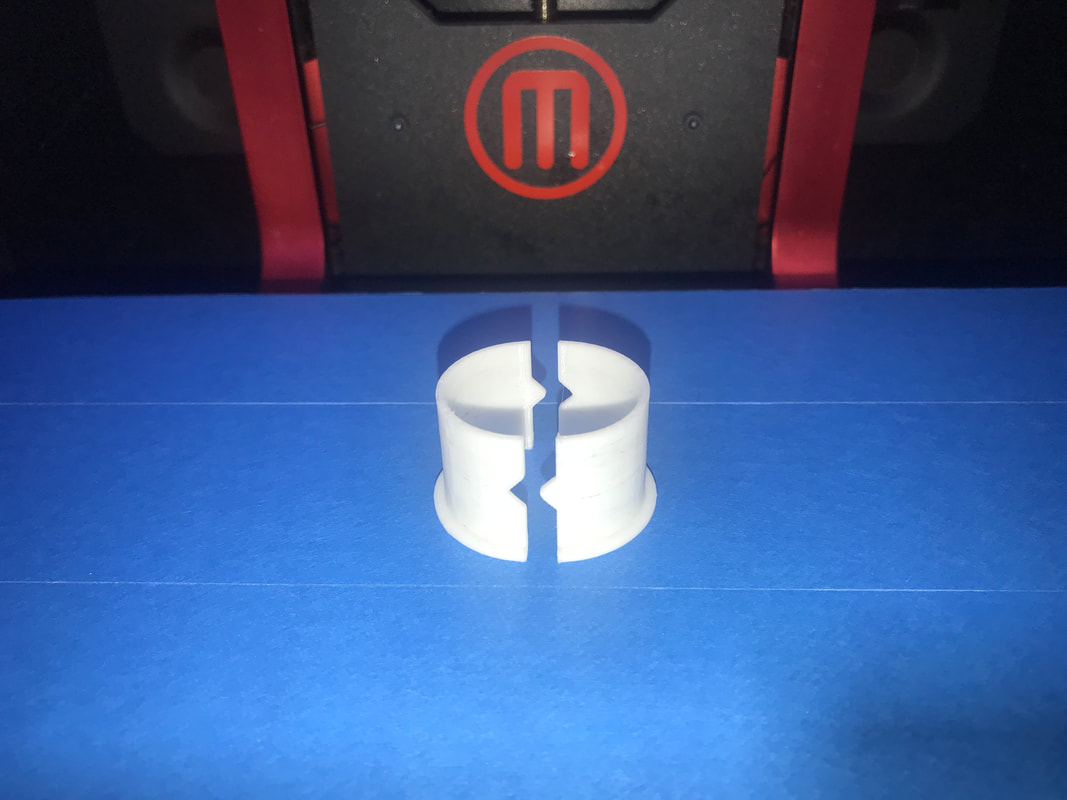
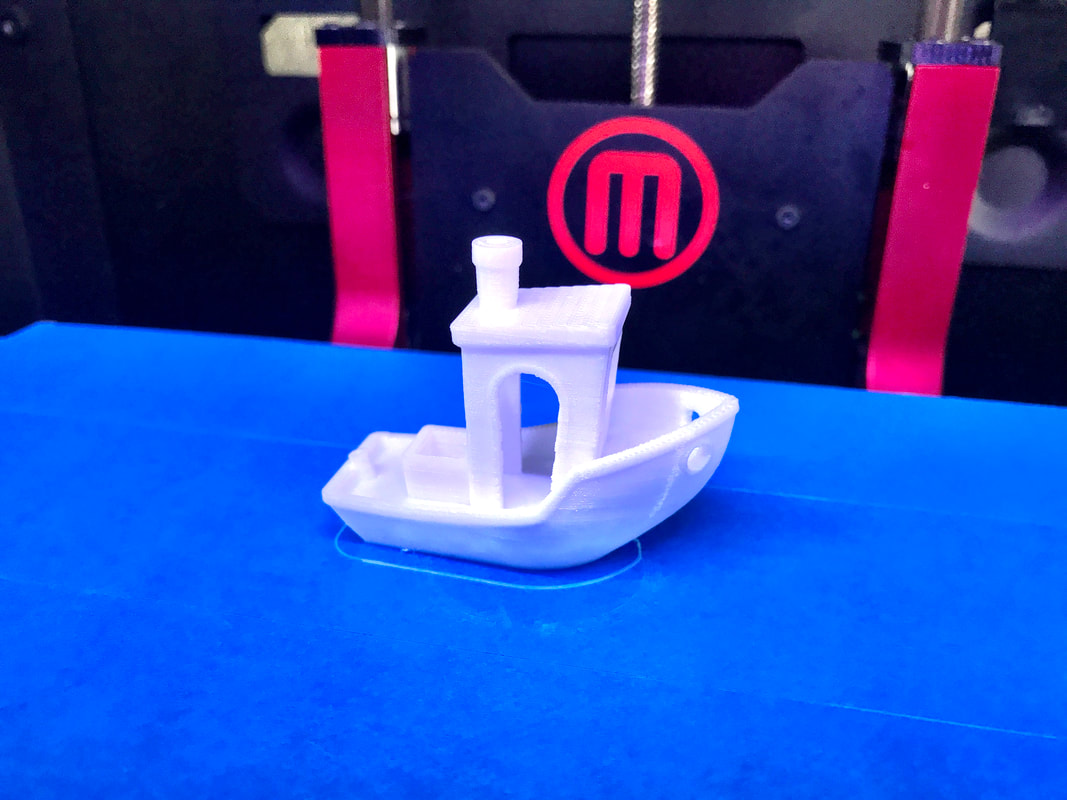
​I quickly whipped up something I wanted to print and used it to test the printer. It printer beautifully on the first print. And off course you must then print a Benchy boat to see how it performs. Which I am very impressed with too. The parts below were printed in white PLA. The slice the first part I quickly used Makerbot print. The slicer made by Makerbot for Makerbots. Benchy boat was sliced using the latest version of Simplify3d.

Expect more updates around 3D printing in the near future. And I will be adding a lot more content to my dedicated 3D printing page.
0 Comments

    Author

    George Timmermans, Research Toolmaker, Software Engineer and Tinkerer

    View my profile on LinkedIn

    Archives

    January 2021
    November 2020
    July 2020
    May 2020
    November 2019
    August 2019
    January 2019
    October 2018
    January 2018
    November 2017
    October 2017
    August 2017
    June 2017
    May 2017
    April 2017
    March 2017
    January 2017
    December 2016
    November 2016
    October 2016
    August 2016
    July 2016
    June 2016
    May 2016
    April 2016
    March 2016
    December 2015
    November 2015
    October 2015
    September 2015
    August 2015

    Categories

    All
    3d Printing
    Photobooth
    Wisp

    RSS Feed

Proudly powered by Weebly
  • About Me
    • Resume
    • Press releases
  • Blog
  • Projects
    • Long Range WiFi Link
    • Embedded Systems >
      • Photo Booth
      • Classroom VU meter
      • USB Media Controller
      • Weather Station
      • Arduino Swimming Pool Controller
      • GRBL Android Controller
      • Arduino Serial Driver
      • Arduino Multitasking
      • 8x8x8 LED Cube
      • Analog -> Digital Geiger Counter
    • 3D Printing >
      • Simplify3d Configuration
      • 3D print repairs
    • Home Brewing >
      • Mead Recipes >
        • Cinnamon Mead
        • Sweet Chili Mead
        • Lemon & Ginger Mead
        • Mead Liqueur
        • Honey Beer
      • Glühwein (Spiced Wine)
      • Limoncello
    • House
    • Toolmaking
    • Laser Cutting
  • Weather Cam
  • Contact