|
The 3D printer has been collecting dust for over a year and the last few months it has been living in its storage box. One of the reasons I have not used it much is because it hasn't been printing well. It hasn't been printing well because I did not properly assemble the extruder assembly when I upgraded several parts. Now I had time and motivation to go and resolve this. Time for a game plan. I was fairly confident all the issues where in the extruder assembly. So the plan was to carefully take it apart. Clean all the parts. And assemble it in very specific order so it the extruder is assembled correctly. With the extruder on the Makerbot replicator and possibly other 3D printers on the market you have to be very careful with the disassembly of the extruder head. Some parts you can only loosen when the extruder is warm/hot. For example the nozzle might break off if you try and undo it while cold. This will be a challenge to then repair. So knowing this in advance and trying to mitigate these possible problems is great. I won't bore you with the details on how to take the extruder apart. The Makerbot replicator extruder has a complex order in the way it has to be disassembled. During disassembly I discovered little things that I could improve during assembly to improve reliability. And possibly increase the longevity of the extruder. Because I had the extruder apart I took the opportunity to replace the ceramic insulation on the heater block before assembly. Assembling the extruder the right way! In a way it's very easy. You just need to know the trick. Start with the nozzle and the heater block and then add all extruder parts where the filament goes through mate with each other.
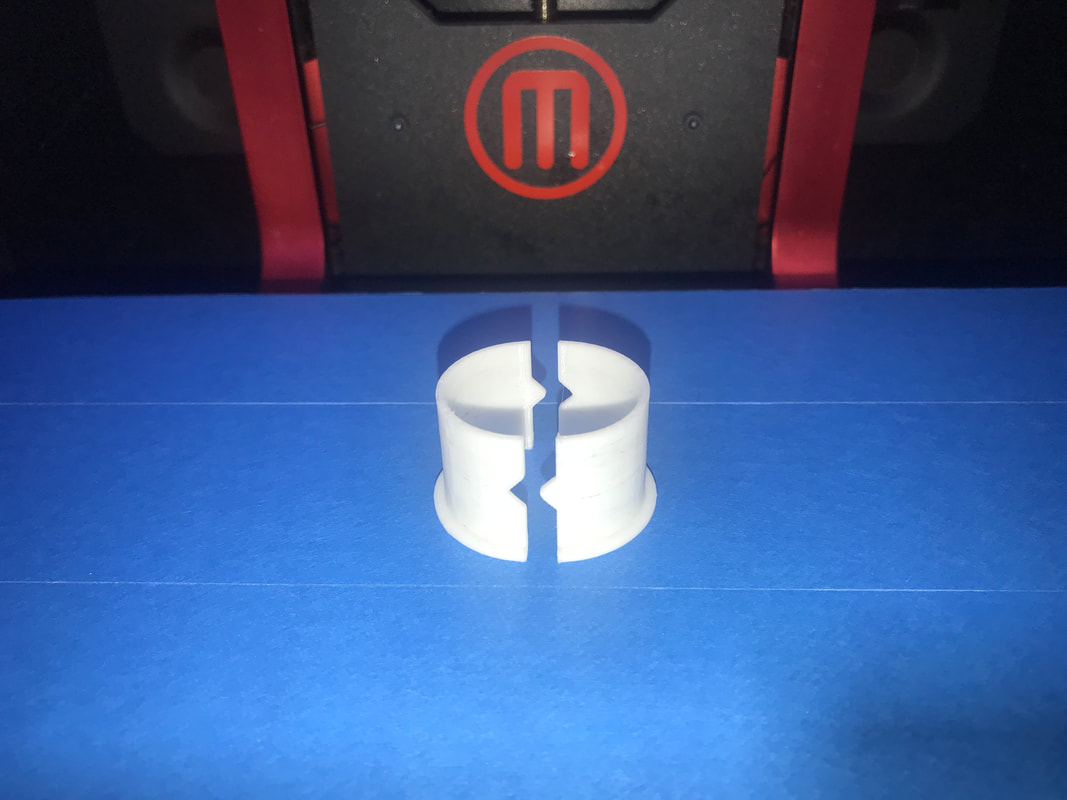
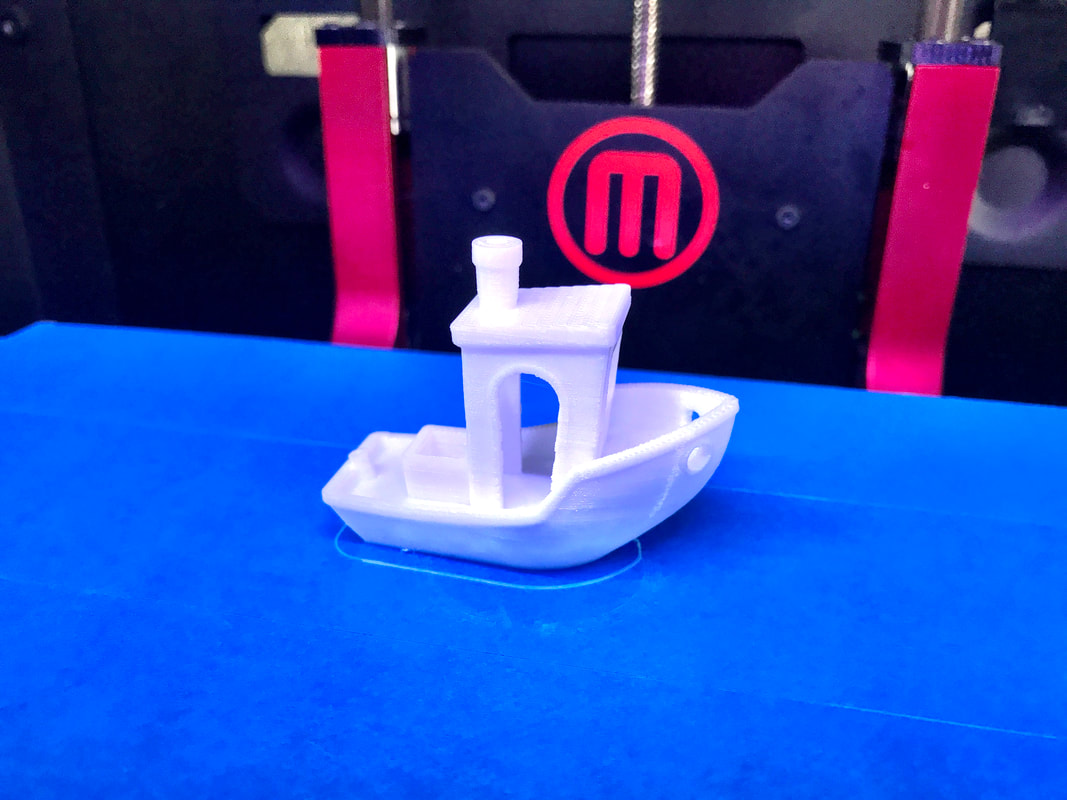
I quickly whipped up something I wanted to print and used it to test the printer. It printer beautifully on the first print. And off course you must then print a Benchy boat to see how it performs. Which I am very impressed with too. The parts below were printed in white PLA. The slice the first part I quickly used Makerbot print. The slicer made by Makerbot for Makerbots. Benchy boat was sliced using the latest version of Simplify3d. Expect more updates around 3D printing in the near future. And I will be adding a lot more content to my dedicated 3D printing page.
0 Comments
The summer holiday is here and that always provides me with some time to make physical changes to the WISP equipment. Last year I made all the preparations to be able to swap the WiFi dishes over to a newly installed stronger mast. But unfortunately I ran out of time and good weather back then to finish the job. So this holiday it was at the top of my priority list to finish this. I also noticed that the RF armor radio cover had become brittle by the NZ sun and had been blown apart. So a good time to fix that too. And our previous weather installation wasn't installed particularly well and would cause some partial shade on the solar panel. This weather station was decommissioned some time ago so I figured I could just remove the old mounting hardware. But...
On arrival I spotted that the the local paragliders had installed the new weather station on our repeater box using the old mounting hardware. And even more damage was done by installing the weather station controller above our solar panel ?♂️ See photos below.
In the end we spend almost three hours on two jobs. One, swapping the dishes over onto the new mast and aligning them again. Two, fix up the weather station install. The weather station also had another installation defect. The arm wasn't installed facing north, so the wind direction was always reported incorrectly. In the last couple off photos you can see that the weather station and controller have been moved backwards as not to create a shade over the solar panel. And the wind vane arm has been installed facing north instead of west.
The North facing camera still causes some shade over the panel at the very end off the day but that doesn't worry me too much. I might take a hacksaw next time and trim the lower waratah that also cast a bit of shad in the evening.
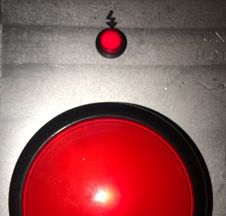
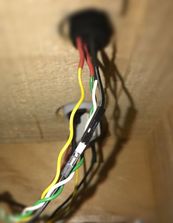
After a lot of work by many talented people we can now continuous deployments during business outage with no customer impact. But since this is fairly new to us we still have a few manual controls in place until we flesh processes out and build up our automated test suites. To create a little bit of spectacle for our first deployments to production I was commissioned to build a launch system. The box and a bunch of buttons where given to me with the request to make it awesome and make it work. The idea of the business people for multiple buttons was that we could use it to deploy different applications once they would also have deployment pipelines. But how do I integrate with all these systems, controlled by restricted credentials? At this stage we don't want just anyone to kick of a deployment. Simply, we don't integrate with these systems and just use smoke and mirrors. All the big push buttons are wired in parallel. Push any of them and a signal will go to the micro-controller which emulates a USB computer mouse and send a mouse click event. So on the big day a user will log into the deployment system, get everything ready and hover the mouse pointer over the deployment button on the UI. Than someone can use the "launch control system" to start the deployment. The toggle switches control the LED in the dome buttons. Flick the switch and the corresponding dome button will have a breathing light effect, Because I wasn't sure of the emulated mouse would work on a company computer I added a buzzer to the build. The idea being that someone could press the button on the launch control system and someone at a computer would get an audible signal to start a deployment. I haven't written anything in a long time. Because of changes starting last year I have been away from my tools almost every weekend. Hopefully next year I get the chance to do what I like doing best. Making stuff. One of the most fun projects was building the photo booth for the Christmas party for work over two years ago. For the party last year I decided to tweak it a little bit by adding a button to turn off/on the flash. But during the party I had to turn the flash on several times because people pressed the button and turned the flash off and other people weren't aware you could turn it back on.
Another tweak was required for my flash diffusser. The flash is really bright so originally I cut a diffusser out of some A4 paper. For normal lightning conditions this works fine and you get the cool effect of a camera flash without ending up squinting in the photos. But the Christmas parties tended to be at a location with very little lighting during the party. So even with the automatic ISO detection a lot of photos looked underexposed. After some hunting around in my flat I found some thin mat plastic that would do the trick. It lets through a lot more light while still diffusing a little. General build instructionsIt has been a long time since my last post. I had so much many upgrades for my WISP and network that I wanted to do during the Christmas holiday and as usual nothing went as planned. But this is not about that.
This post is about my trial with UNMS. UNMS is Ubiquiti new device management software for WISP. It seems like it is meant to replace AirControl 2 and at some stage integrate with UniFi. Currently the software is in beta with many features missing, According to the roadmap UNMS should be feature complete before 2019. But you can download and install the beta version and have a play around. In my case I acquired an Ubiquiti airCube AC which integrates with UNMS. Note: AWS might charge you for using their services. Example t2.micro instance is free but t2.small cost me $0.0232 per On Demand Linux Instance Hour. I followed these instructions: UNMS installation. I started of by creating a free AWS account. Before creating your instance, check if you are in the right region (top right next to you account name). I created an EC2 - t2.micro instance from a template which I then upgraded to a t2.small instance. Associate an IP address with my new instance and update the security groups to unblock port 443 (default port used by UNMS, can be changed). Navigating to the instance elastic IP-address should bring up the UNMS welcome screen. Once you completed the UNMS basic setup you can set up sites and attempt to connect client devices. I don't want to go into too much detail. The forums are a great resource if you get stuck. It was an interesting exercise to set this up and learn some basics around AWS. I don't know what I will do in the feature. Probably just install and run it on a home build server instead. Update: I run UNMS on a local server inside a Virtual Machine. I don't need to run it continuously because I still use AirControl 2 for ease of use with my small WISP. Only when you add newer ubiquiti devices that are not supported by AirControl 2 will you require UNMS. |
AuthorGeorge Timmermans, Research Toolmaker, Software Engineer and Tinkerer 
Archives
March 2024
Categories |
 RSS Feed