|
Like a lot of people I have been looking for stuff to do while staying at home. One of the things I wanted to get better at was soldering surface mount components. I found several practice kits on AliExpress and the LED fidget spinner is one of them. And to do something different I decided to make a timelapse of me putting it together. The instructions consist of a website with picture and some information in what might be mandarin. The picture are clear enough to figure out how to assemble the kit. The only thing I didn’t notice beforehand was that there where three different colours of LEDs provided. You will see in my video that when I first test the fidget spinner I only have two colours and after final assembly I have three. I hope to do more of these type of kits in the future because I enjoy putting things together. I would rate this Kit an 8/10.
0 Comments
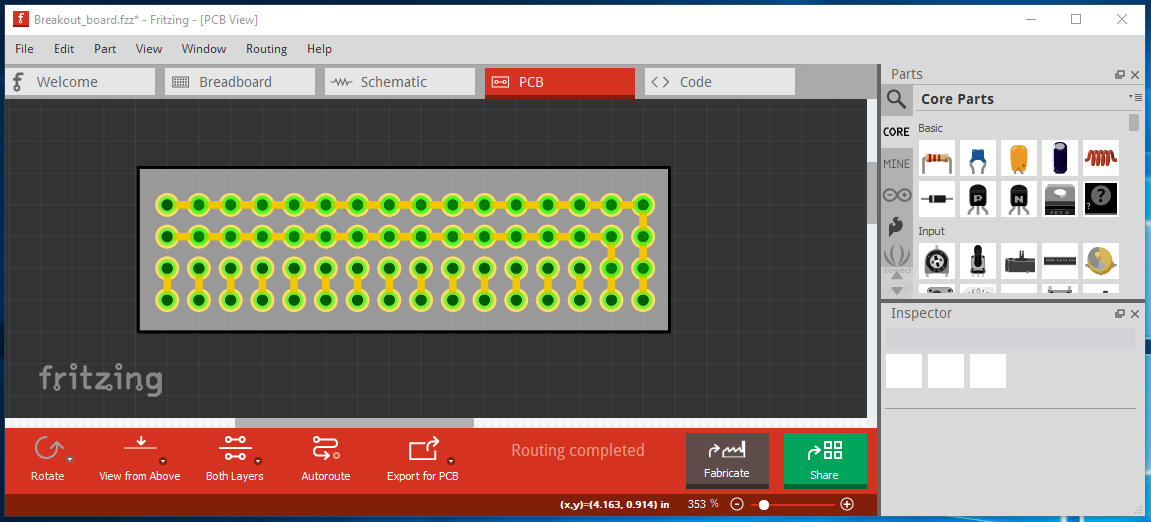
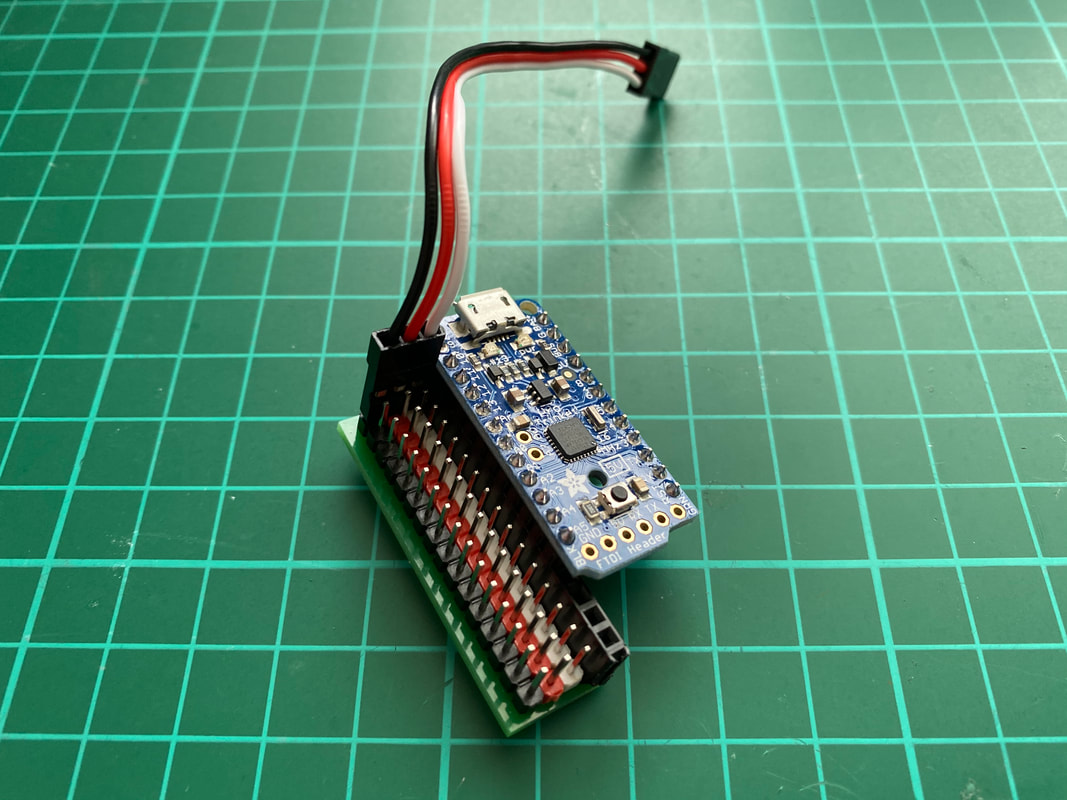
For years I had a homebrew ambilight setup for my 24' full hd monitor based on Adafruits version of ambilight called adalight. These days you can buy a simple kit of aliexpress so you don't really have to do any soldering and programming of an Arduino. Not that I have any problem doing that but why bother? Here is a photo on how I installed it on a 32" monitor. I ended up using a total of 104 led pixels. 16 on the bottom, 24 either side and 40 on the top. 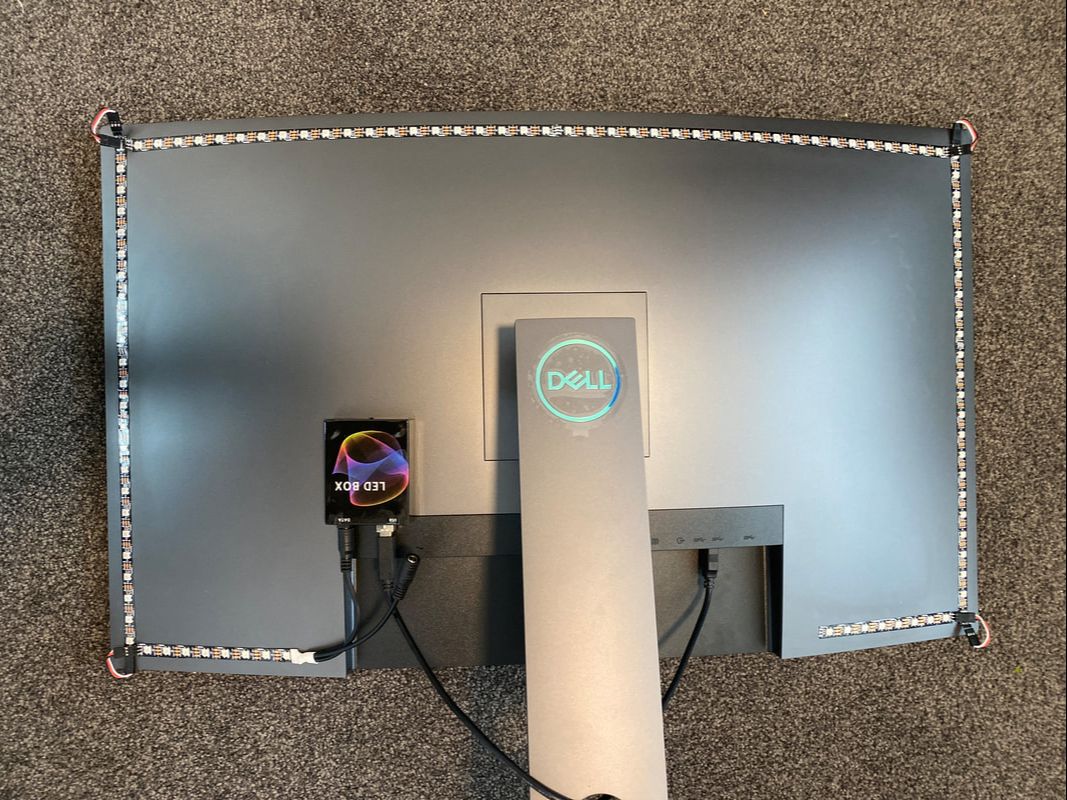 I connected the corners by soldering on header pins and connecting them with 3-pin JR connectors. I recommend cleaning the surface with methylated spirits before sticking down the LEDs. The orientation of the LEDs can be changed in software but by default it would follow an anti-clockwise direction if you where sitting in front of the monitor.  Once everything was hooked up I ended up using Lightpack to drive the LEDs. I used the custom config to make the software match my LED layout. 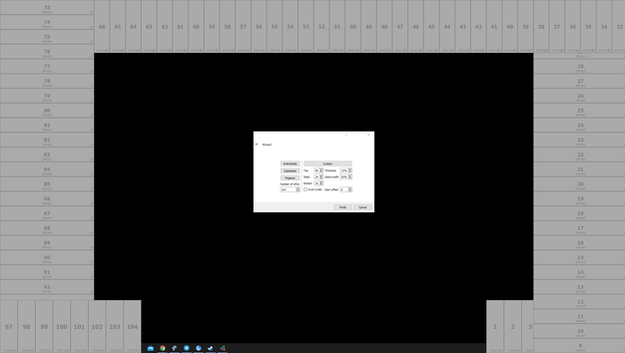 While doing some research I found a great article around calibrating the LEDs. I recommend reading it: Calibrating Ambilight Color in Prismatik and it is what I used to adjust some of my settings. The camera doesn't capture the colours the way I see them. In person it looks a lot more accurate.  Breadboards are great for prototyping but I don't like to use them for a finished project. Perf board has its uses but it still involves a fair bit of soldering and planning. To make things easier I like to use a little breakout board that I designed. It provides a ground and voltage rail and by using leads with JR plugs it very easy to connect sensors. Below you can download the Fritzing file below in case you want to have your own boards made.
Don't be shocked by the Asus in the title. Although I manage a Ubiquiti Unifi/Protect/Aircontrol and UNMS network, at home in a tiny apartment things are on a budget. I don't need a unifi setup for a 60 m² apartment where and a internet connection off 100/20Mbps. But that doesn't mean we can try and optimise our network settings. In this case for a basic Asus RT-AC58U home Wifi Router. Since you are reading this I'm assuming you you know how to login to your router. Now your ISP connection speeds and understand some slight I.T. jargon. Configuring QoS and prioritise Playstation/XboxI cannot guarantee that based on your model router or firmware that these instructions will stay complete or be accurate. But these instructions should point you in the right direction:
* For Xbox connected via Wireless there is an checkbox on the "Wireless" page for both 2.4Ghz and 5Ghz to optimise for Xbox. No idea what is does but you can try and enabled that too. Optional router tweakAs a engineer I firmly believe in the power off turning something off and on again. If you haven't watched the TV show the "The IT crowd" I recommend you do so. Asus routers have the option to to a scheduled automatic reboot. This is something I enable as a preventive measure in case there is a bug in the firmware like a memory leak or something else. If it in theory can improve reliability why not enable it?
You can find it under:
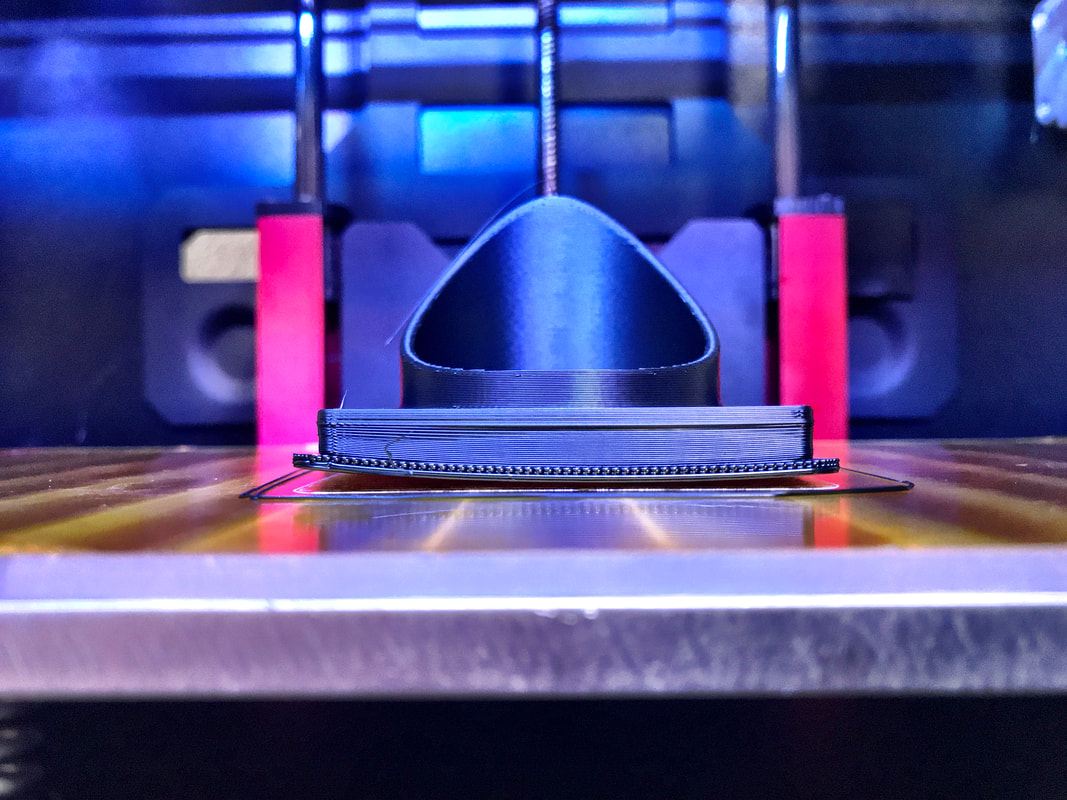
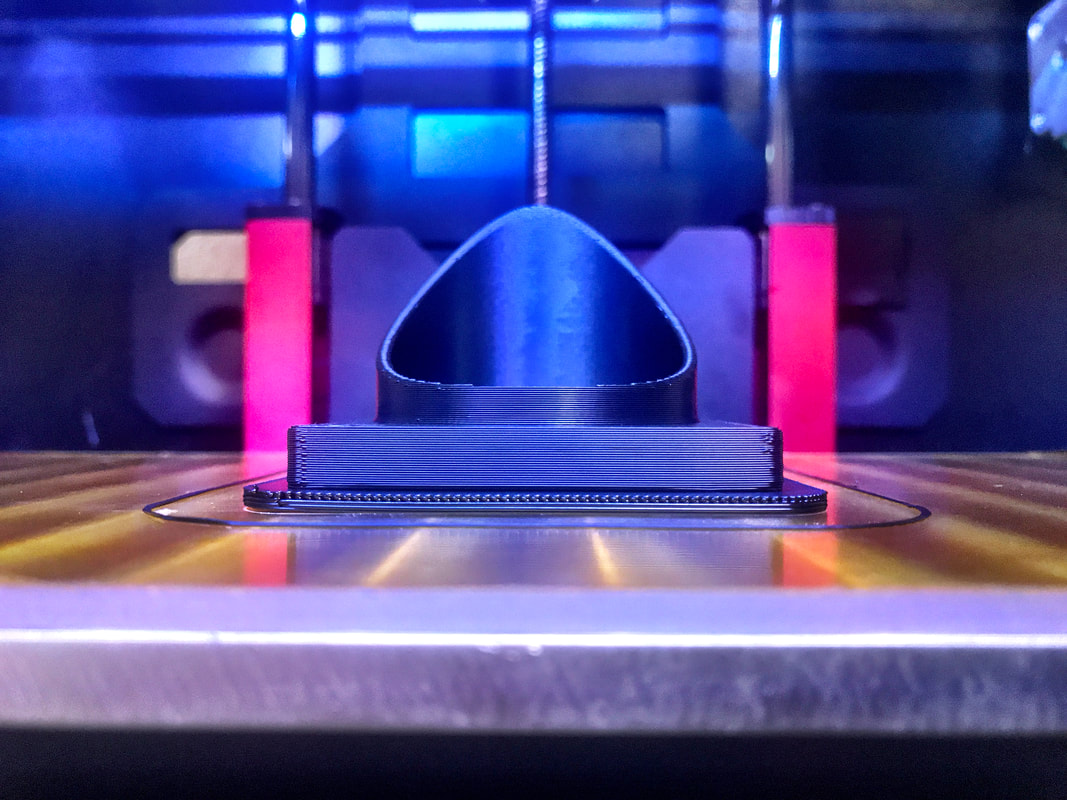
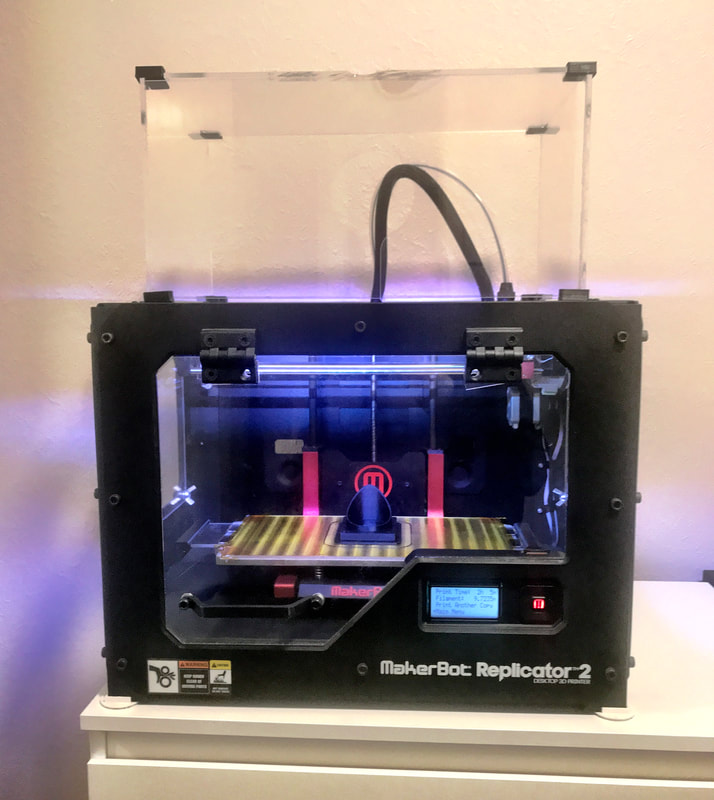
Now I'm back into 3D printing one of my curiosities is in printing with different materials. The stock Makerbot Replicator 2 as designed for printing PLA only. Many of the upgrades I added to the printer where to be be able to print different materials. Why? Different materials have different strengths and weaknesses and are therefore better or worse for particular applications. I like t have the option to pick the best material for a particular part depending on what it will be used for. For example my action camera mount for on your dashboard when printed in PLA suffers from warping when your dashboard heats up in the sun. That is because the glass transition temperature for PLA is between 60-65 °C. A common plastic used for 3d Printing is ABS. ABS has a glass transition temperature ~105 °C. Glass transition temperature is not the only property to look for. Depending on what you are printing you might care about some of the following:
Printing ABSFirst attempt settings that required changing later:
First attempt settings that required changing later:
I'm excited to try new materials in the future. For more information on my Simplify3d configuration for a Makerbot Replicator 2 with Heated Build Platform (HBP) see Simplify3d Configuration. |
AuthorGeorge Timmermans, Research Toolmaker, Software Engineer and Tinkerer 
Archives
March 2024
Categories |
||

 RSS Feed